
According to Newzoo, in 2026, the gaming community reached 3.6 billion active gamers, who are expected to generate $205 billion in revenue by the end of the year.
With a market of this size, competition is fierce. As such, getting localization right is a non-negotiable, and that requires flawless game localization quality assurance (LQA).
What is game localization quality assurance (LQA)?
Video game localization quality assurance (LQA) is the final stage of the localization process. It focuses on the linguistic review of a translated version of the game.
It typically comes after the stages of translation editing and proofreading (TEP) have been completed. Unlike TEP, which ensures translation accuracy, LQA verifies that all the localized content works well within the game.
It ensures that all the translated versions are accurate and deliver a smooth and consistent gaming experience. Furthermore, game LQA tends to focus on specific pre-defined game areas and does not cover the full game. For example, the LQA of the Spanish version of your game could cover:
- The UI of the Spanish menu.
- The main dialogue of the main quest.
- The cut-scenes and if they trigger as intended.
- The frame rate of the Spanish version
While game LQA can cover many game aspects, in practice, it overwhelmingly focuses on a game’s text and its translations.
What does game LQA testing include?
Game LQA has 3 main parts: functional testing, cultural testing, and linguistic testing. However, different companies may organize LQA differently.
1. Functional testing
Functional testing (or FQA) ensures all localized versions of the game work properly. Specialized FQA game testers check menus, cutscenes, transitions, dialogue, and gameplay mechanics to see if they work correctly in each target language.
In simple terms, FQA testing focuses on performance-related aspects of the localized game.
One of the most common issues FQA testers deal with relates to variables and placeholders. Games use strings with dynamic placeholders, for example:
“You collected {count} items.”
The placeholder changes depending on gameplay (from 2 to infinity, depending on the game’s potential loot), but the sentence around it stays the same.
This structure works fine in English, where anything above 1 is simply “items.” But in gendered languages, the word for “items” may need to change depending on the specific item. Russian has three plural forms. Arabic has six. And in languages with different word order, the placeholder itself may need to move to a different position within the sentence.
These issues get worse when developers hardcode text directly into the game’s code or bake it into image assets rather than pulling it from localization files. These strings become invisible to translators and show up as untranslated English in an otherwise fully localized build.

2. Cultural testing
Cultural testing checks if a game’s content is suitable for different cultures. Experts review images, symbols, and references. This is important because what’s okay in one country might not be okay in another.
For instance, games about World War II need to be handled sensitively in Germany due to the country’s history. Similarly, in the US, ensuring inclusivity is a major concern.
CD Projekt Red, the studio behind The Witcher, is a prime example of how the cultural localization QA process can shape a game. They’ve had to adapt their games for different markets. This included toning down violence and nudity, and even reworking how alcohol is portrayed in-game. In their card game, Gwent, they went as far as removing blood from some card art.


3. Linguistic testing
Linguistic testing covers all linguistic elements (text and audio) that are part of the game localization. It has three main areas:
Translation issues
This is the biggest part of the localization QA process, and it looks for:
- Mistranslations (poor translations, word-for-word translations, etc.).
- Terminology that doesn’t match the glossary.
- Inconsistency issues (inconsistent names for places, things, or characters).
- Translating what shouldn’t be translated.
- Spelling, grammar, and punctuation errors.
Perhaps the most famous example of context-free translation gone wrong is Call of Duty: Modern Warfare 2. The line “Remember, no Russian” (an instruction not to speak Russian) was translated into Japanese as “Kill them, they are Russians,” completely inverting the scene’s meaning.
The error wasn’t corrected until the 2020 remaster. This kind of mistake happens when translators work from spreadsheets without gameplay context, which is exactly what LQA is designed to catch.
Layout issues
Layout reviews focus on how the text looks like in the game user interface (UI). Common errors are:
- Text that doesn’t fit in the UI (truncation).
- Text or images that don’t display correctly.
- Incorrect fonts or layout.
- Using the wrong format for addresses, numbers, dates, etc.
Text expansion is one of the most common issues LQA testers encounter. For instance, German translations typically run 30–35% longer than English. As such, a button labeled “Save” becomes “Speichern,” and “Setting” becomes “Einstellungen.”

If the UI wasn’t designed with expansion room, text gets truncated or overflows its container. Conversely, CJK languages (Chinese, Japanese, Korean) often contract, leaving awkward empty spaces in menus designed for English string lengths.
Audio and voice-over issues
This checks that all voice acting is translated correctly and is synchronized with the game’s visuals and context.
🗨️ Side note: While gaming LQA can be done in-house, it’s often outsourced to language service providers (LSPs). Creating all the localization steps for each language internally is time-consuming and costly. Outsourcing is usually more efficient, affordable, and reliable if you choose the right partner.
How to run the game localization QA process
The video game LQA process begins once the initial translation is finished and integrated into the game. It usually involves these four key stages:
- Preparation and planning.
- Testing & reporting.
- Analysis and implementation.
- Regression testing.
Remember that these stages are relatively flexible. Different teams may add or modify steps depending on their specific needs and the project’s requirements.
1. Preparation and planning
This gaming LQA stage focuses on two core elements: creating a test plan and ensuring everyone involved is ready to implement it
The test plan
The test plan is a very detailed roadmap that outlines your testing scope, objectives, methodologies, and schedule. It typically involves six steps.
Step 1 – The goal
First, you have to establish the scope and objectives of the game LQA process clearly.
- Scope: Consider which aspects of your game will be tested. For example, will you cover the main storyline, side quests, UI, tutorials, subtitles, or voice-overs?
- Objectives: Decide on your main goals. Are you focusing on cultural relevance, linguistic accuracy, or game functionality? There are many other objectives to consider as well.
Step 2 – Test cases & scenarios
Once you have clear goals, you must prepare scenarios and test cases.
Scenarios test the game by mimicking real-world usage. For instance, an LQA game tester might talk to a specific NPC to trigger a quest, and then play through it to assess the entire chain of actions.
On the other hand, a test case might simply involve talking to the NPC and triggering the quest. The pass/fail criteria would be whether the quest triggered, but the tester wouldn’t go beyond that point. Each test case should have detailed steps, the expected outcome, and what is a pass or fail.
Step 3 – Passing criteria
For each scenario and test case, you need clear passing or failing criteria for your LQA game testers. These must be specific and measurable. For example, testing UI elements is straightforward:
- Pass criteria: No truncation or overlap in the tested menu or dialogue boxes.
- Fail criteria: Text is truncated, overlaps, or is misaligned.
Step 4 – Task allocation
With your test cases ready, assign them to the right team members. It’s essential to have a game LQA team with the necessary technical and linguistic expertise. Assign linguistic tasks to linguistic experts and functional testing to technical experts.
If the game is localized into many languages, consider different case coverage for each. This approach ensures cost-effective QA by focusing resources on the most critical languages or those with the largest player base while reducing coverage for less commonly spoken languages.
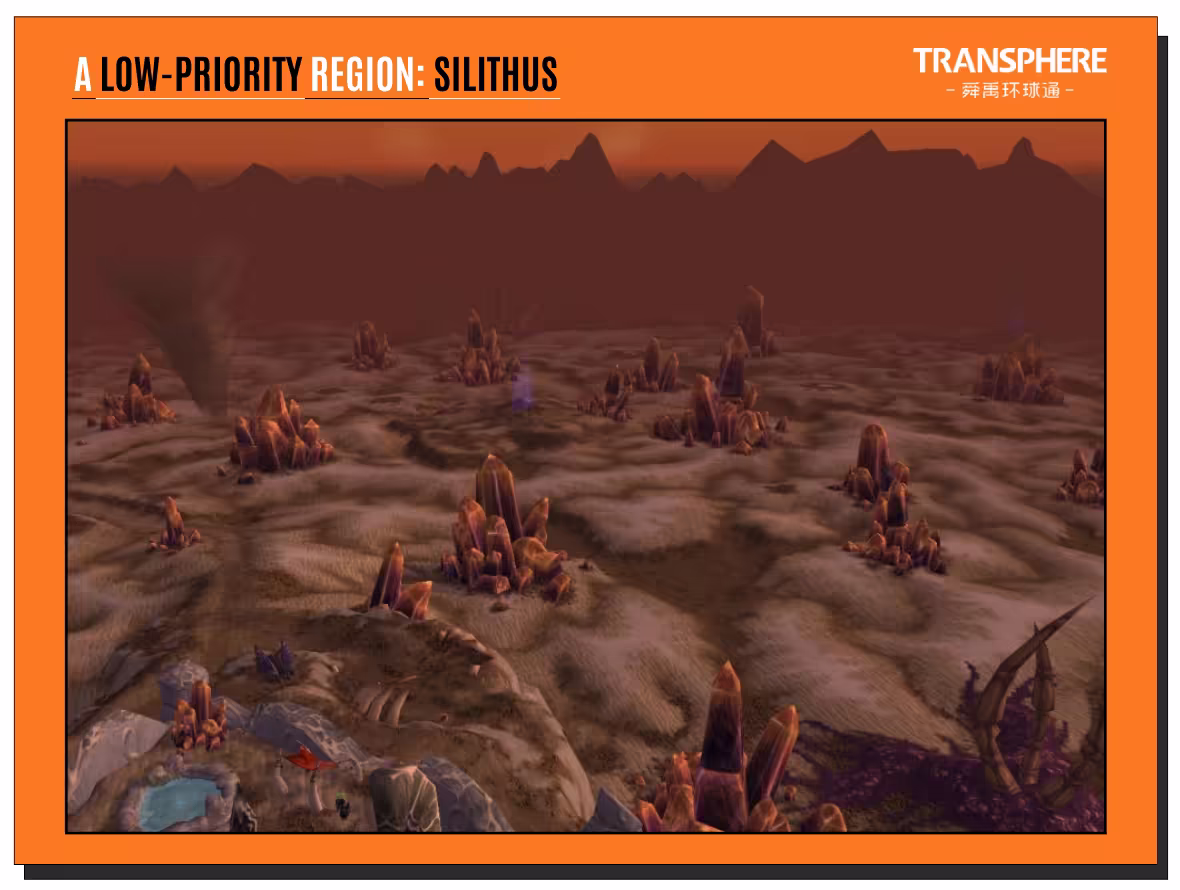
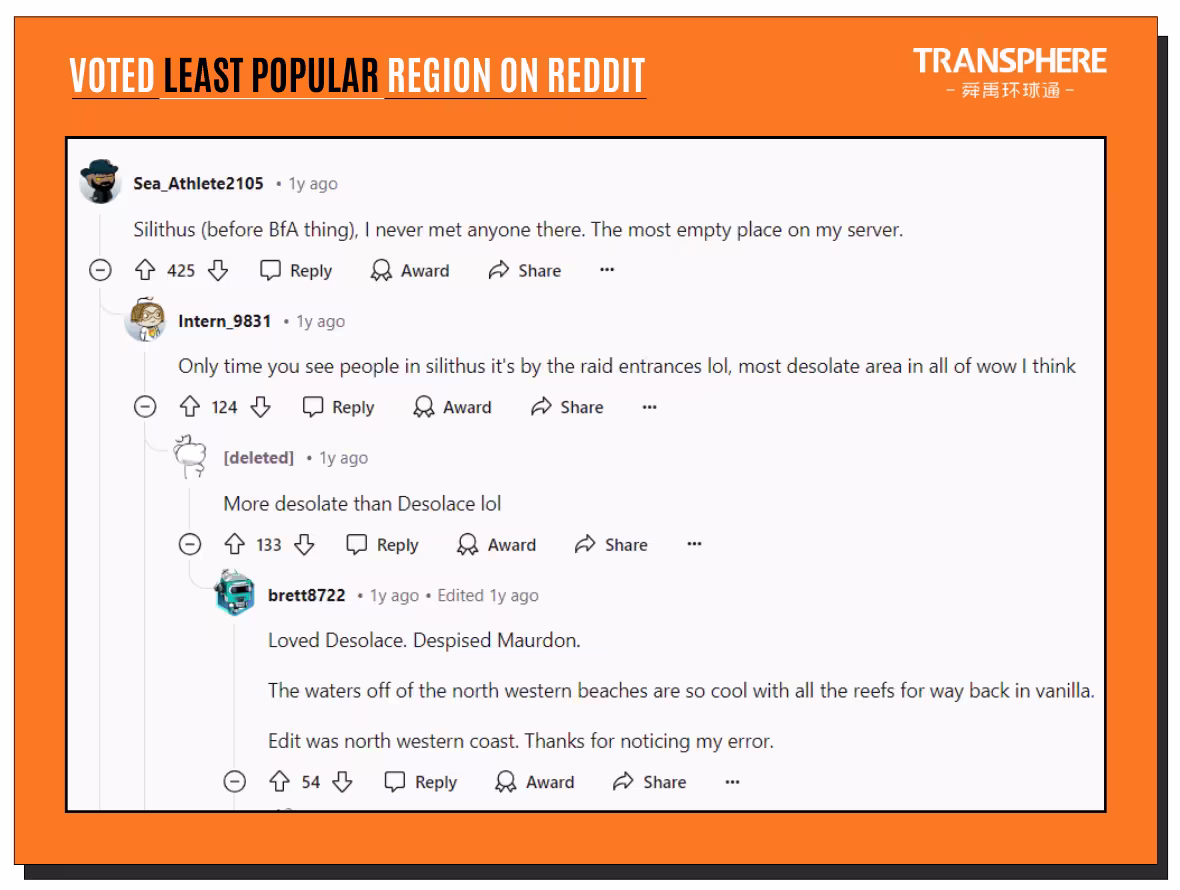
Language aside, you may also prioritize test cases based on their impact on the gaming experience. Focus on popular areas and questlines over those that only affect a small percentage of players, like an obscure quest in a rarely visited area.

Step 5 – The schedule
To create a clear schedule for the game LQA process, include the following:
- Testing phases: Organize the process into distinct, easily scheduled phases.
- Milestones: Set clear milestones and deadlines for each phase.
- Buffer time: Include buffer time. We often underestimate how long tasks will take, both individually and organizationally.
Step 6 – Document the plan
Create comprehensive documentation about the entire game localization quality assurance process so far. This includes preparing a localization kit, style guides, and glossaries. These documents should be easily accessible to all stakeholders:
- Testers.
- Translators.
- Project managers.
- Developers & engineers.
Setting up the environment
Once your test plan is complete, ensure everyone has access to all necessary hardware and software. This includes setting up gaming rigs, platforms, and test environments that mimic real-world usage conditions. Here are some things to consider:
Hardware
- Consoles (PlayStation, Xbox, Nintendo Switch, etc.).
- PCs (High-end, mid-range, and low-end setups).
- Mobile phones.
- Peripherals (Controllers, keyboards, gaming mice, VR headsets, audio equipment, etc.).
Software
- Game builds (latest and previous builds for regression testing).
- Appropriate operating systems.
- Bug tracking systems (JIRA, Bugzilla, etc.).
- Virtual machines (to simulate different operating systems on PC).
- Automated testing tools (Selenium).
- Screen capture tools (OBS Studio, Fraps, etc.).
The kick-off meeting
After your test plan is documented, it’s crucial to hold a kick-off meeting. This meeting should include the project managers and all members of the testing team.
During this session, you’ll thoroughly review the testing plan to ensure everyone is aligned with the objectives, scope, and methodology of the gaming LQA process. Key discussion points should include:
- Task allocation review: Confirm that all test cases have been appropriately assigned.
- Risk identification: Identify potential risks or challenges that could impact the testing process. For instance, resource constraints, technical issues, or tight deadlines. Once identified, brainstorm mitigation strategies.
- Communication plan: Establish a clear communication plan to ensure smooth coordination among team members. This should include regular check-ins, progress updates, and a protocol for escalating issues.
The kick-off meeting sets the tone for the project. It ensures everyone is on the same page before testing begins, leading to a more efficient and effective LQA process.
Now that the test plan is ready and all the stakeholders have been enabled, it’s time to test!
2. Testing and reporting
During the testing phase, game LQA testers play through designated areas, carefully completing each test case and scenario. They should keep a real-time log of issues and potential bugs. These are usually logged in a bug-tracking system, although sometimes spreadsheets are used.
Regardless of the software, logs need to be detailed and clear. They should include:
- A description of the issue (grammar, terminology, truncation, appropriateness, etc.).
- A potential solution (if applicable).
- The in-game location of the error.
- Visual evidence (screenshots/video)
- Steps to reproduce the issue.
- The severity (critical, major, minor).
- A categorization based on priority (e.g., P0-P4):
- P0: Game-breaking, critical issues needing immediate fixes.
- P1: Important and urgent ones with a large impact.
- P2: Moderate ones with minor to moderate impact.
- P3: Issues affecting very few users.
- P4: Unimportant issues.
These logs help developers prioritize which issues need immediate attention and which can be addressed later.
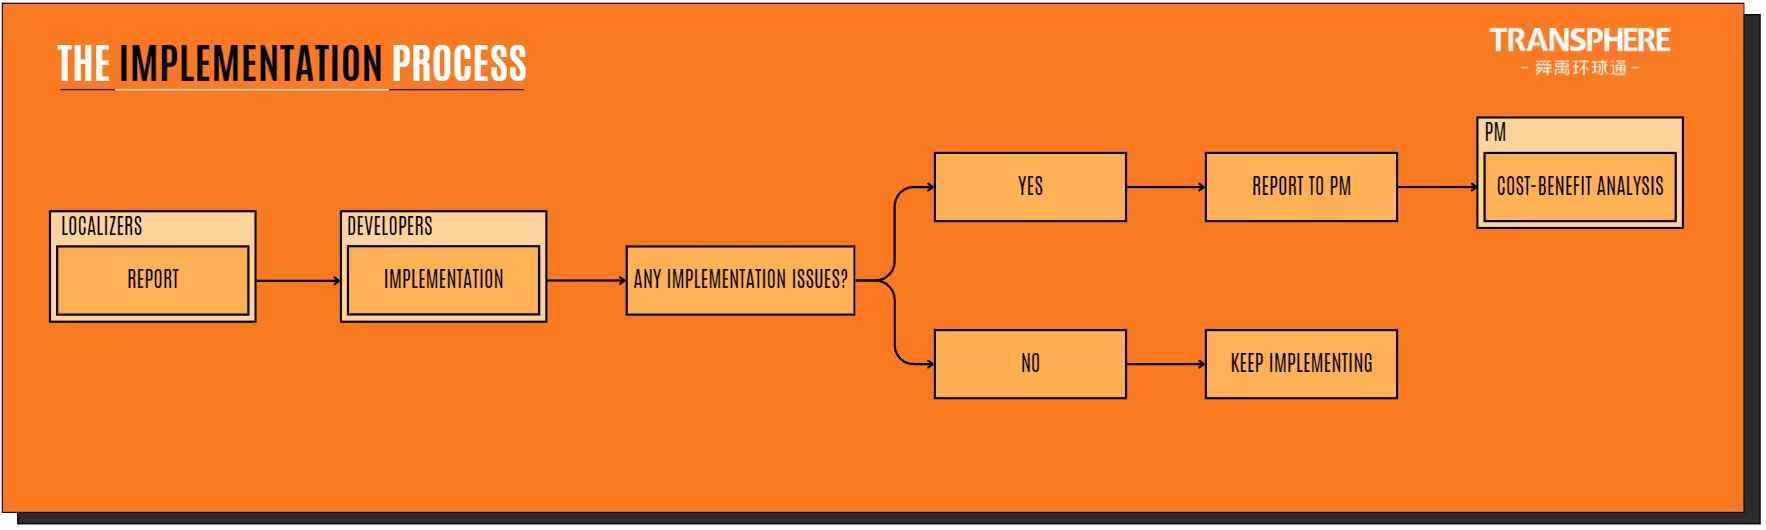
3. Analysis and implementation
After receiving the reports, developers are responsible for updating the content and fixing bugs. However, if some bugs are too challenging, or weren’t anticipated, they are escalated to the project manager.
The project manager then analyzes the situation to decide whether the bug should be fixed, delayed, or left unfixed. This often involves consulting with other team members, like linguists, to fully understand the bug’s impact on the game.
This decision will largely depend on the impact of this issue as well as the budget of the game localization quality assurance project. The more time and budget you have, the more thorough you may want to be.
But typically, you’ll have to consider where these issues occur in the game and whether they are worth fixing. A repeatable game crash in the first 10 minutes of the game is unacceptable and must be fixed at all costs. In contrast, a minor typo in a side quest might be less important.
Priority also shifts depending on the game genre. In a fast-paced shooter, translation excellence matters less. In a game relying heavily on language, it’s crucial.


4. Regression testing
Regression testing is the final review stage in the game LQA process. It checks if each update fixed the reported issues as intended. After all, despite your best intentions, updates might not work as expected and may need more work.
Remember, regression testing focuses only on reported bugs and won’t find new ones. If these updates create new issues, they will go unnoticed. This is especially true in large games with complex features. Small changes in one area can have unexpected consequences elsewhere.
That is one of the reasons why there is a remaining QA stage in the game development process.
LQA FAQ
LQA stands for Localization Quality Assurance (sometimes also referred to as Linguistic Quality Assurance). In the context of gaming, it refers to the final testing stage of the localization process, where native-speaking testers review the translated game in context to catch linguistic, visual, and functional issues.
LQA (Localization Quality Assurance) focuses on linguistic and cultural accuracy, i.e., making sure translations read naturally, terminology is consistent, and the content is culturally appropriate.
FQA (Functional Quality Assurance) focuses on whether the localized game actually works, i.e., checking that menus load correctly, cutscenes trigger properly, and nothing crashes in each language version.
In practice, the two overlap: an LQA tester who finds that a translated button label overflows its container is flagging both a linguistic and a functional issue.
General game QA (quality assurance) covers the entire game: performance, stability, bugs, compatibility across platforms, and gameplay mechanics.
LQA is a subset of QA that focuses specifically on the localized versions of the game.
It checks whether translations are accurate, culturally appropriate, and display correctly in the UI. Within LQA itself, you'll often see a further split between FQA (functional testing of localized builds) and linguistic QA (translation accuracy and cultural review).
Most projects run at least two rounds. The first round covers the full testing scope, testers play through designated areas and log all issues. The second round is regression testing, where testers verify that reported bugs were actually fixed.
For large AAA titles localized into many languages, a third round may be needed to catch issues introduced by the fixes themselves. The number of rounds ultimately depends on your budget, timeline, and how many issues surface in the first pass.
Both approaches work, but outsourcing is more common. In-house LQA gives you more control and faster communication with your development team, but it requires hiring native-speaking testers for every target language, which is expensive and hard to scale.
Outsourcing to a language service provider (LSP) gives you access to a broader pool of native testers across many languages without the overhead.
The most important thing is that whoever does the LQA was not involved in the original translation. Fresh eyes catch errors that the original translator will miss.
Game LQA is typically charged on an hourly basis, with rates ranging from roughly $40 to $80 per hour depending on the language and the provider's location.
The total cost depends on the number of languages, the scope of testing (full game vs. key areas), and how many rounds of testing you run. For a mid-sized game localized into 5–10 languages, LQA alone might range from a few thousand to tens of thousands of dollars.
Some providers also offer per-word pricing for linguistic review, typically between $0.04 and $0.08 per word. You can use our game localization cost estimator for a more detailed breakdown.
